factory

factory는 새로운 인스턴스를 생성하고 싶지 않을 때 사용하는 생성자이다. 이와 같은 개념은 새로운 게 아니다. 소프트웨어 디자인 패턴 중 '싱글톤 패턴'을 따른 것이다.

Singleton 패턴

전역 변수를 사용하지 않고 객체를 하나만 생성 하도록 하며, 생성된 객체를 어디에서든지 참조할 수 있도록 하는 패턴

싱글톤 패턴의 사용하는 이유

메모리 측면

최초 한번의 new 연산자를 통해서 고정된 메모리 영역을 사용하기 때문에 추후 해당 객체에 접근할 때 메모리 낭비를 방지

이미 생성된 인스턴스를 활용하니 속도 측면에서도 이점

데이터 공유가 쉽다

싱글톤 인스턴스가 전역으로 사용되는 인스턴스이기 때문에 다른 클래스의 인스턴스들이 접근하여 사용할 수 있다

도메인 관점에서 인스턴스가 한 개만 존재하는 것을 보증하고 싶은 경우 싱글톤 패턴을 사용

factory의 특징

  • 기존에 이미 생성된 인스턴스가 있다면 return 하여 재사용한다.
  • 하나의 클래스에서 하나의 인스턴스만 생성한다(싱글톤 패턴).
  • 서브 클래스 인스턴스를 리턴할 때 사용할 수 있다.
  • Factory constructors 에서는 this 에 접근할 수 없다.

factory는 '클래스와 같은 타입의 인스턴스' 또는 '메서드를 구현하는 인스턴스'를 리턴하기만 하면 된다. 이렇게 생성된 인스턴스는기존에 생성된 인스턴스가 아니라면 새롭게 생성되고, 기존 인스턴스가 있다면 기존 것을 리턴한다.

factory 보단 warehouse 창고의 의미와 유사하다.

실사용 예

class NewsArticle {
  final String title, description, urlToImage, url;

  NewsArticle({this.title, this.description, this.urlToImage, this.url});

  factory NewsArticle.fromJSON(Map<String, dynamic> json) {
    return NewsArticle(
      title: json["title"],
      description: json["description"],
      urlToImage: json["urlToImage"],
      url: json["url"],
    );
  }
}
class AccountModel {
  AccountModel({
    this.avatar,
    this.id,
    this.iso6391,
    this.iso31661,
    this.name,
    this.includeAdult,
    this.username,
  });

  Avatar? avatar;
  int? id;
  String? iso6391;
  String? iso31661;
  String? name;
  bool? includeAdult;
  String? username;

  factory AccountModel.fromJson(Map<String, dynamic> json) => AccountModel(
        avatar: Avatar.fromJson(json["avatar"]),
        id: json["id"],
        iso6391: json["iso_639_1"],
        iso31661: json["iso_3166_1"],
        name: json["name"],
        includeAdult: json["include_adult"],
        username: json["username"],
      );

  Map<String, dynamic> toJson() => {
        "avatar": avatar!.toJson(),
        "id": id,
        "iso_639_1": iso6391,
        "iso_3166_1": iso31661,
        "name": name,
        "include_adult": includeAdult,
        "username": username,
      };
}
class Logger {
  final String name;
  bool mute = false;

  // _cache is library-private, thanks to
  // the _ in front of its name.
  static final Map<String, Logger> _cache =
      <String, Logger>{};

  factory Logger(String name) {
    return _cache.putIfAbsent(
        name, () => Logger._internal(name));
  }

  factory Logger.fromJson(Map<String, Object> json) {
    return Logger(json['name'].toString());
  }

  Logger._internal(this.name);

  void log(String msg) {
    if (!mute) print(msg);
  }
}
728x90

'Study > Dart' 카테고리의 다른 글

[Dart] future, async, await, 실행순서  (0) 2021.06.15
[Dart] const 와 final 이해하기  (0) 2021.06.15
[Dart] Future, Isolate  (0) 2021.06.08
[Dart] 상속을 쓰는 이유  (0) 2021.06.07
[Dart] 상속  (0) 2021.06.07

controller가 singleton 방식인 것을 활용

기존

controller

class CountControllerWithGetX extends GetxController {
  int count = 0;
  void increase(String id) {
    count++;
    update([id]);
  }
}

contoller에 접근

Get.find<CountControllerWithGetX>().increase();

활용

controller에 state으로 get to 추가

class CountControllerWithGetX extends GetxController {
  static CountControllerWithGetX get to => Get.find();
  int count = 0;
  void increase(String id) {
    count++;
    update([id]);
  }
}

controller.to 로 접근 가능

CountControllerWithGetX.to.increase();

controller가 reactive 방식일때 stateless 대신 getview를 사용해서 접근

stateless -> GetView로 변경

// stateless -> GetView로 변경
class BindingPage extends GetView<CountControllerWithReactive> {
  const BindingPage({Key? key}) : super(key: key);

  @override
  Widget build(BuildContext context) {
    return Scaffold(
      appBar: AppBar(),
      body: Column(
        children: [
          Text(
            "GetX",
            style: TextStyle(fontSize: 50),
          ),
                    // reactive 방식이어야함
          Obx(() => Text(
                "${controller.count.value}",
                style: TextStyle(fontSize: 50),
              )),
          RaisedButton(
            onPressed: () {
              //GetView 안에 controller가 있음
              controller.increase();
            },
            child: Text(
              "+",
              style: TextStyle(fontSize: 50),
            ),
          ),
        ],
      ),
    );
  }
}

참고

https://www.youtube.com/watch?v=O1Bw-mwF9xc 


728x90

의존성 주입 (binding)

controller를 인스턴스화 하는 방법 ( 의존성 주입 )

put, lazyput, putasync, create 방법이 있음

binding 방법

특정 페이지 안에서 특정 페이지로 이동할때 바인딩

Get.put

  • 페이지 이동시 create, initialized 되고 페이지에서 나올때 delete()가 실행되며 메모리에서 삭제
RaisedButton(
  child: Text("GetPut"),
  onPressed: () {
    //바인딩 : 페이지로 보내주면서 사용할 컨트롤러를 주입하는 방법
    Get.to(
      GetPut(),
      binding: BindingsBuilder(() {
        Get.put(DependencyController());
        //put방식은 페이지 이동시 controller를 메모리에 올려주고 나올땐 알아서 삭제해줌
      }),
    );
  },
),

Get.lazyPut

  • 버튼을 눌러 페이지 이동했을 당시에는 create, initialized되지 않지만 사용할때 생성됨
  • 나올때는 put과 동일하게 삭제
RaisedButton(
  child: Text("Get.lazyPut"),
  onPressed: () {
    Get.to(
      GetLazyPut(),
      binding: BindingsBuilder(() {
        // controller를 사용할때 메모리에 올려줌
        // 나올땐 삭제
        Get.lazyPut<DependencyController>(
            () => DependencyController());
      }),
    );
  },
),

Get.putAsync

  • 페이지에 접근을 할때 비동기식으로 데이터를 받아오거나 가공처리를 오랫동안하고 나서 컨트롤러를 인스턴스화 할때 사용
RaisedButton(
  child: Text("Get.putAsync"),
  onPressed: () {
    Get.to(
      GetPut(),
      binding: BindingsBuilder(() {
        // 페이지에 접근을 할때 비동기식으로 데이터를 받아오거나 가공처리를 오랫동안하고 나서 컨트롤러를 인스턴스화 할때 사용
        Get.putAsync<DependencyController>(() async {
          // 데이터 처리 후 인스턴스화
          await Future.delayed(Duration(seconds: 5));
          return DependencyController();
        });
      }),
    );
  },
),

Get.create

  • 페이지 이동 할 당시에는 생성 안되지만 사용할때 마다 생성됨
  • 자동으로 삭제되지 않기 때문에 사용 종료때마다 삭제 해줘야함
RaisedButton(
  child: Text("Get.create"),
  onPressed: () {
    // 인스턴스를 여러개 생성
    Get.to(GetPut(), binding: BindingsBuilder(() {
      // 사용할때성 마다 인스턴스 생성
      Get.create<DependencyController>(
          () => DependencyController());
    }));
  },
),

앱이 실행될 때 가장 앞에서 바인딩 설정

  • 라우팅 설정의 GetPage안에서 설정
getPages: [
  GetPage(
    name: '/binding',
    page: () => BindingPage(),
    binding: BindingsBuilder(() {
      Get.put(CountControllerWithGetX());
    }),
  ),
],

Bindings를 implements한 클래스를 만들어서 getPages의 binding에 넣어줄 수 있음

class BindingPageBinding implements Bindings {
  @override
  void dependencies() {
    // TODO: implement dependencies
    Get.put(CountControllerWithGetX());
  }
}
GetPage(
  name: '/binding',
  page: () => BindingPage(),
  binding: BindingPageBinding(),
),

참고

https://www.youtube.com/watch?v=KDTjo-6jFKs 


728x90

값이 변경되어야만 update (rebuild)를 합니다.

현재 상태값과 변경될 상태값이 동일하다면 wiget을 다시 그리지 않습니다.

controller

class CountControllerWithReactive {
  RxInt count = 0.obs; // 반응형 상태관리
  void increase() {
    count++;
  }

    // 값을 넣어 줄때
  void putNumber(int value) {
    count(value);
  }
}

ui

class ReactiveSimpleStatePage extends StatelessWidget {
  const ReactiveSimpleStatePage({Key? key}) : super(key: key);

  @override
  Widget build(BuildContext context) {
    Get.put(CountControllerWithReactive());
    return Scaffold(
        appBar: AppBar(
          title: Text('반응형 상태 관리'),
        ),
        body: Center(
          child: Column(
            mainAxisAlignment: MainAxisAlignment.center,
            children: [
              Text(
                "GetX",
                style: TextStyle(fontSize: 50),
              ),
                            // 현재 값이 5인 경우 putNumber(5)를 아무리 눌러도 다시 그려지지 않음
              Obx(() => Text(
                    "${Get.find<CountControllerWithReactive>().count.value}",
                    style: TextStyle(fontSize: 50),
                  )),
              RaisedButton(
                onPressed: () {
                  Get.find<CountControllerWithReactive>().increase();
                },
                child: Text(
                  "+",
                  style: TextStyle(fontSize: 50),
                ),
              )
              RaisedButton(
                onPressed: () {
                  Get.find<CountControllerWithReactive>().putNumber(5);
                },
                child: Text(
                  "5로 변경",
                  style: TextStyle(fontSize: 50),
                ),
              ),
            ],
          ),
        ));
  }
}

이벤트 트리거

controller

import 'package:get/get.dart';

// trigger를 위해 getxcontroller 상속
class CountControllerWithReactive extends GetxController {
  RxInt count = 0.obs; // 반응형 상태관리
  void increase() {
    count++;
  }

  void putNumber(int value) {
    count(value);
  }

  // getxcontroller lifecycle
  @override
  void onInit() {
    // TODO: implement onInit
    // worker
    // 매번 값이 변경될 때 마다 호출 (반응 상태일때만 가능)
    ever(count, (_) => print("매번 호출"));
    // 한번만 호출
    once(count, (_) => print("한번만 호출"));
    // 이벤트가 끝났을때 실행
    debounce(count, (_) => print("마지막 변경에 한번만 호출"), time: Duration(seconds: 1));
    // 변경되고 있는 동안 설정한 초마다 실행
    interval(count, (_)=>print("변경되고 있는 동안 1초마다 호출"),time: Duration(seconds: 1));
    super.onInit();
  }

  @override
  void onClose() {
    // TODO: implement onClose
    super.onClose();
  }
}

custom Rx 타입

enum 타입

enum NUM {FIRST, SECOND}
class controller {
    Rx<NUM> nums = NUM.FIRST.obs;

    void put(){
        nums(NUM.SECOND);
    }
}

class 타입

class User{
    String name;
    int age;
}
class controller {
    Rx<User> user = User().obs;

    void put(){
        user(User());
        user.update((_user){
            _user.name = 'name';
        });
    }
}

list 타입

class controller {
    RxList<String> list = [].obs;
    void put(){
        list.addAll();
        list.add();
        list.addIf(user.value.name=='name','okay'); // 조건, 대입값
    }
}


참고

https://www.youtube.com/watch?v=TjC1ka8fZJw 


728x90

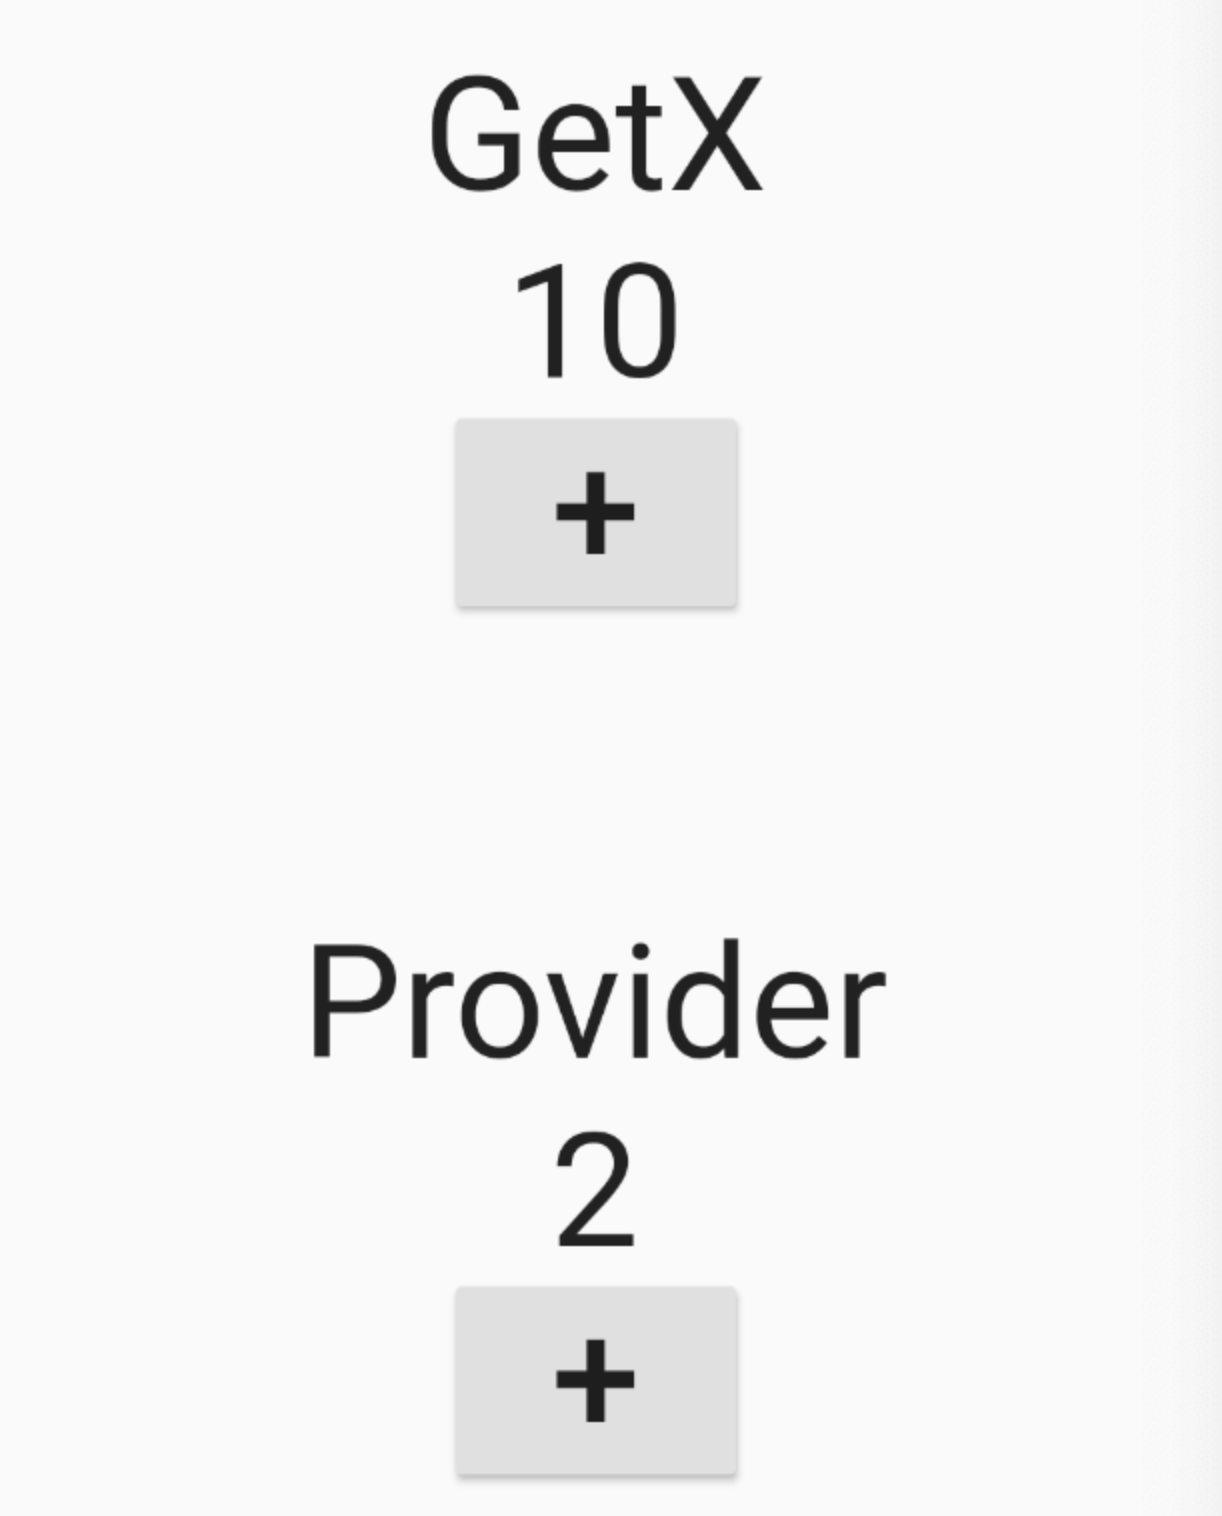
단순 상태 관리 앱 화면

main(controller 등록)

class SimpleStatePage extends StatelessWidget {
  const SimpleStatePage({Key? key}) : super(key: key);

  @override
  Widget build(BuildContext context) {
        // getx controller 등록
        Get.put(CountControllerWithGetX());
    return Scaffold(
        appBar: AppBar(
          title: Text('단순 상태 관리'),
        ),
        body: Center(
          child: Column(
            mainAxisAlignment: MainAxisAlignment.center,
            children: [
              Expanded(child: WithGetX()),
              Expanded(
                                    // provider controller 등록
                  child: ChangeNotifierProvider<CountControllerWithProvider>(
                create: (_) => CountControllerWithProvider(),
                child: WithProvider(),
              )),
            ],
          ),
        ));
  }
}

Provider

controller

class CountControllerWithProvider extends ChangeNotifier {
  int count = 0;
  void increase() {
    count++;
    notifyListeners();
  }
}

ui

class WithProvider extends StatelessWidget {
  const WithProvider({Key? key}) : super(key: key);

  @override
  Widget build(BuildContext context) {
    return Center(
      child: Column(
        children: [
          Text(
            "Provider",
            style: TextStyle(fontSize: 50),
          ),
          Consumer<CountControllerWithProvider>(
            builder: (_, snapshot, child) {
              return Text("${snapshot.count}", style: TextStyle(fontSize: 50));
            },
          ),
          RaisedButton(
            onPressed: () {
              // listen: false를 줘서 consumer 부분만 rebuild
              Provider.of<CountControllerWithProvider>(context, listen: false)
                  .increase();
            },
            child: Text(
              "+",
              style: TextStyle(fontSize: 50),
            ),
          ),
        ],
      ),
    );
  }
}

GetX

controller

class CountControllerWithGetX extends GetxController {
  int count = 0;
  void increase() {
    count++;
    update();
  }
}

ui

class WithGetX extends StatelessWidget {
  const WithGetX({Key? key}) : super(key: key);

  @override
  Widget build(BuildContext context) {
    return Center(
      child: Column(
        mainAxisAlignment: MainAxisAlignment.center,
        children: [
          Text(
            "GetX",
            style: TextStyle(fontSize: 50),
          ),
          GetBuilder<CountControllerWithGetX>(builder: (controller) {
            return Text(
              "${controller.count}",
              style: TextStyle(fontSize: 50),
            );
          }),
          RaisedButton(
            onPressed: () {
              Get.find<CountControllerWithGetX>().increase();
            },
            child: Text(
              "+",
              style: TextStyle(fontSize: 50),
            ),
          ),
        ],
      ),
    );
  }
}

비교

Provider는 consumer를 이용해 상태값을 가져오고 provider와 context를 이용해 controller의 비즈니스 로직을 불러옵니다.

GetX는 GetBuilder를 통해 상태값을 가져오고 Get.find를 통해 controller의 비즈니스 로직을 가져옵니다.

context를 사용하지 않는 GetX 방식은 위젯으로 분리하여 사용가능합니다.

...{
    ...
    return (
    ...,
    buildRaisedButton(),
    );

    Widget buildRaisedButton() {
      return RaisedButton(
        onPressed: () {
          Get.find<CountControllerWithGetX>().increase();
        },
        child: Text(
          "+",
          style: TextStyle(fontSize: 50),
        ),
      );
    }

}

반면, provider의 경우에는 stateful 위젯으로 변경하거나 context를 넘져워야합니다.

    buildRaisedButton(context),
            ],
          ),
        );
      }

  Widget buildRaisedButton(BuildContext context) {
    return RaisedButton(
          onPressed: () {
            // listen: false를 줘서 consumer 부분만 rebuild
            Provider.of<CountControllerWithProvider>(context, listen: false)
                .increase();
          },
          child: Text(
            "+",
            style: TextStyle(fontSize: 50),
          ),
        );
  }
}

GetX는 선언이 자유롭다.

부모에서 controller를 선언해줄 필요가 없습니다.

ui 부분에서 바로 사용 가능

class WithGetX extends StatelessWidget {
  const WithGetX({Key? key}) : super(key: key);

  @override
  Widget build(BuildContext context) {
        // 바로 사용 가능
        Get.put(CountControllerWithGetX());
    return Center(
      child: Column(
        mainAxisAlignment: MainAxisAlignment.center,
        children: [
          Text(
            "GetX",
            style: TextStyle(fontSize: 50),
          ),
          GetBuilder<CountControllerWithGetX>(builder: (controller) {
            return Text(
              "${controller.count}",
              style: TextStyle(fontSize: 50),
            );
          }),
          RaisedButton(
            onPressed: () {
              Get.find<CountControllerWithGetX>().increase();
            },
            child: Text(
              "+",
              style: TextStyle(fontSize: 50),
            ),
          ),
        ],
      ),
    );
  }
}

또한 클래스가 생성될때 바로 사용가능합니다.

class WithGetX extends StatelessWidget {
  const WithGetX({Key? key}) : super(key: key);
    // 클래스가 생성될때 바로 사용가능
    CountControllerWithGetX _countControllerWithGetX =Get.put(CountControllerWithGetX());
  @override
  Widget build(BuildContext context) {

    return Center(
      child: Column(
        mainAxisAlignment: MainAxisAlignment.center,
        children: [
          Text(
            "GetX",
            style: TextStyle(fontSize: 50),
          ),
          GetBuilder<CountControllerWithGetX>(builder: (controller) {
            return Text(
              "${controller.count}",
              style: TextStyle(fontSize: 50),
            );
          }),
          RaisedButton(
            onPressed: () {
                            //find를 할 필요가 없음
              _countControllerWithGetX.increase();
            },
            child: Text(
              "+",
              style: TextStyle(fontSize: 50),
            ),
          ),
        ],
      ),
    );
  }
}

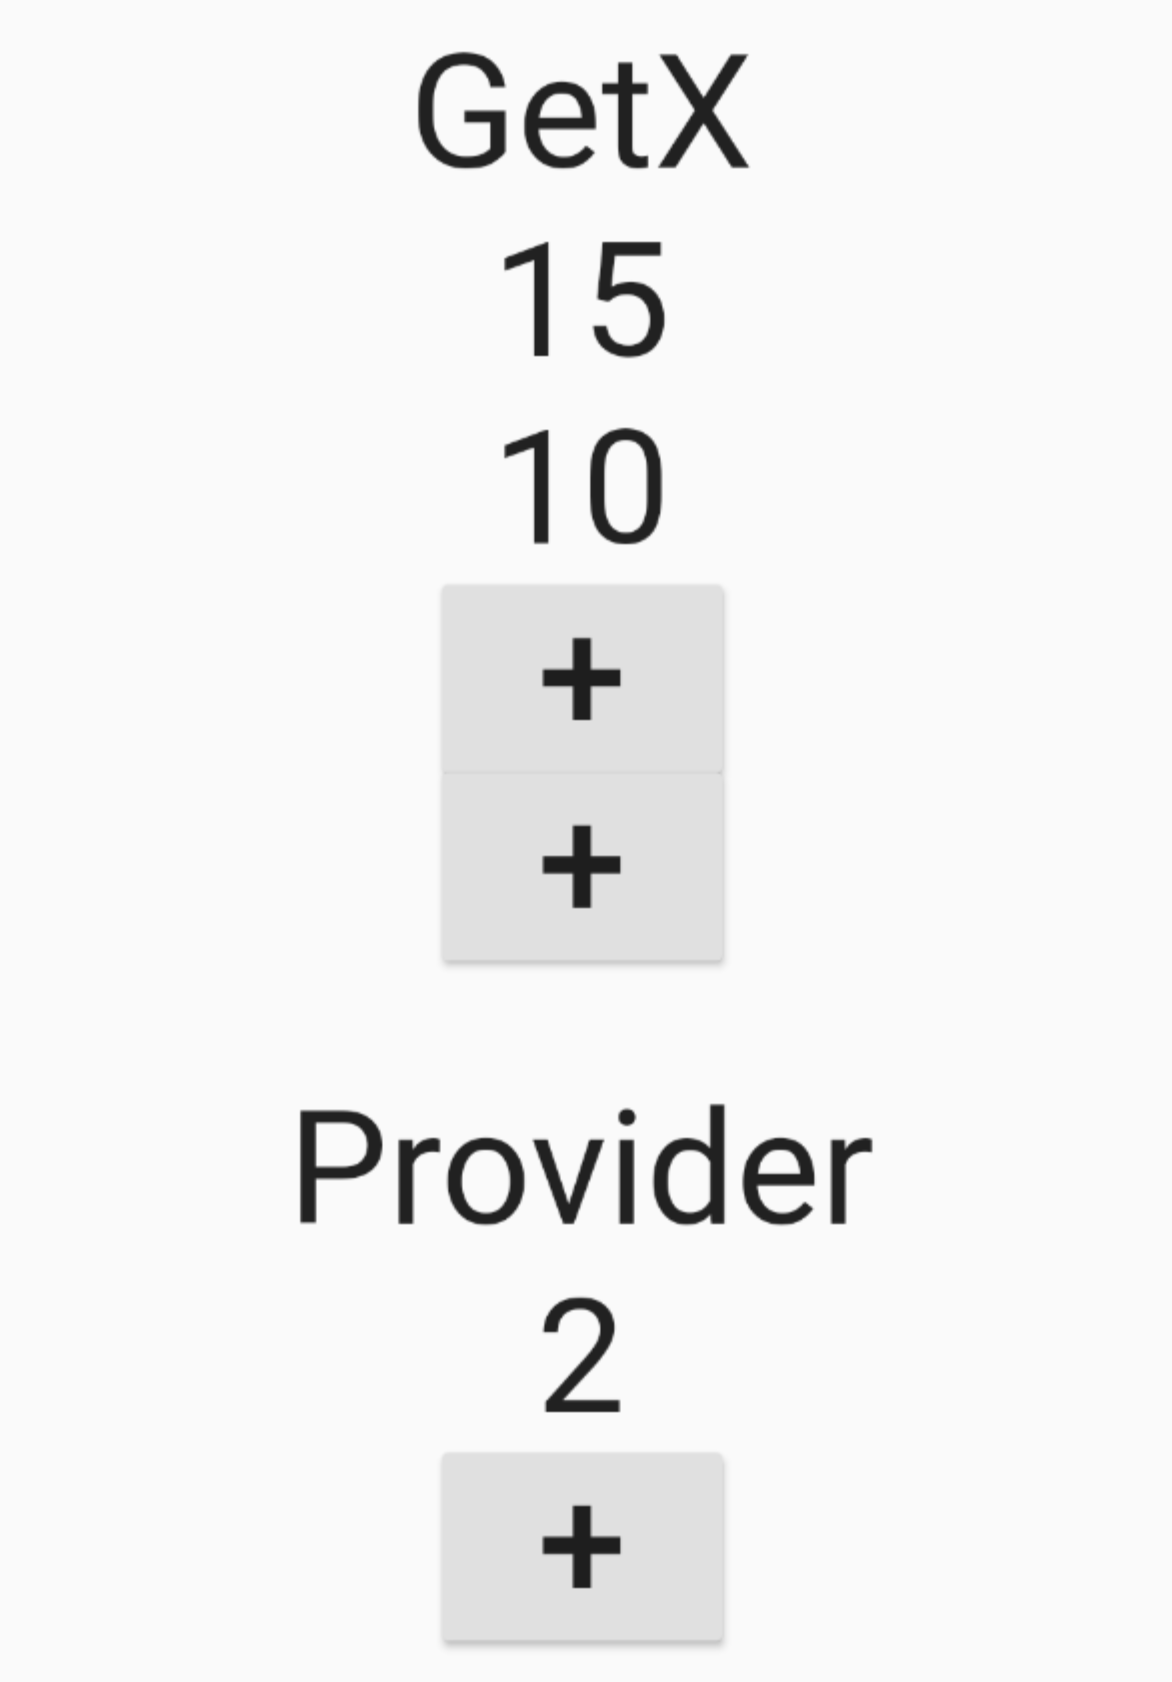
특정 컨트롤러에 아이디를 부여해서 관리 가능

cotroller

class CountControllerWithGetX extends GetxController {
  int count = 0;
    // id를 받아서 update에 배열로 넣어줌
  void increase(String id) {
    count++;
    update([id]);
  }
}

ui

class WithGetX extends StatelessWidget {
  WithGetX({Key? key}) : super(key: key);
  CountControllerWithGetX _countControllerWithGetX =
      Get.put(CountControllerWithGetX());

  @override
  Widget build(BuildContext context) {
    return Center(
      child: Column(
        mainAxisAlignment: MainAxisAlignment.center,
        children: [
          Text(
            "GetX",
            style: TextStyle(fontSize: 50),
          ),
          GetBuilder<CountControllerWithGetX>(
                        // id 추가
            id: "first",
            builder: (controller) {
              return Text(
                "${controller.count}",
                style: TextStyle(fontSize: 50),
              );
            },
          ),
          GetBuilder<CountControllerWithGetX>(
            id: "second",
            builder: (controller) {
              return Text(
                "${controller.count}",
                style: TextStyle(fontSize: 50),
              );
            },
          ),
          buildRaisedButton("first"),
          buildRaisedButton("second"),
        ],
      ),
    );
  }

  Widget buildRaisedButton(String id) {
    return RaisedButton(
      onPressed: () {
                // id를 넘겨줌
        _countControllerWithGetX.increase(id);
      },
      child: Text(
        "+",
        style: TextStyle(fontSize: 50),
      ),
    );
  }
}

참고

https://www.youtube.com/watch?v=k3hgQu6it4c 


728x90

GetX packages

https://pub.dev/packages/get


get | Flutter Package

Open screens/snackbars/dialogs without context, manage states and inject dependencies easily with GetX.

pub.dev


기본 페이지 라우팅

main.dart - GetMaterialApp 사용

void main() {
  runApp(MyApp());
}

class MyApp extends StatelessWidget {
  // This widget is the root of your application.
  @override
  Widget build(BuildContext context) {
    return GetMaterialApp(
      title: 'Flutter Demo',
      theme: ThemeData(
        primarySwatch: Colors.blue,
      ),
      home: Home(),
    );
  }
}

Page 이동

기존 라우팅

Navigator.of(context).push(MaterialPageRoute(builder: (_) => FirstPage()));

GetX 라우팅

Get.to(() => FirstPage());

뒤로 이동

기존 라우팅

Navigator.of(context).pop();

GetX 라우팅

Get.back();

페이지 이동시 이전 히스토리 삭제

기존 라우팅

Navigator.of(context).pushAndRemoveUntil(
                      MaterialPageRoute(builder: (_) => Home()),
                      (route) => false);

GetX 라우팅

Get.offAll(Home());

Named 페이징 라우팅

Named route 정의

main.dart

기존 라우팅

class MyApp extends StatelessWidget {
  // This widget is the root of your application.
  @override
  Widget build(BuildContext context) {
    return GetMaterialApp(
      title: 'Flutter Demo',
      theme: ThemeData(
        primarySwatch: Colors.blue,
      ),
      initialRoute: '/',
      routes: {
        '/': (context) => Home(),
        '/first': (context) => FirstNamedPage(),
        '/second': (context) => SecondNamedPage(),
      },
    );
  }
}

GetX 라우팅

class MyApp extends StatelessWidget {
  // This widget is the root of your application.
  @override
  Widget build(BuildContext context) {
    return GetMaterialApp(
      title: 'Flutter Demo',
      theme: ThemeData(
        primarySwatch: Colors.blue,
      ),
      initialRoute: '/',
      getPages: [
        GetPage(name: '/', page: () => Home()),
        GetPage(name: '/first', page: ()=>FirstNamedPage()),
        GetPage(name: '/second', page: ()=>SecondNamedPage()),
      ],
    );
  }
}

Page 이동

기존 라우팅

Navigator.of(context).pushNamed('/first');

GetX 라우팅

Get.toNamed('/first');

GetX 라우팅 현재페이지 삭제 후 이동

Get.offNamed('/second'); // /first페이지 삭제 후 /second 이동

페이지 이동시 이전 히스토리 삭제

기존 라우팅

Navigator.pushNamedAndRemoveUntil(context, '/', (route) => false);

GetX 라우팅

Get.offAllNamed('/');

페이지 전환 효과 적용

GetX

getPages의 transition 속성 지정

class MyApp extends StatelessWidget {
  // This widget is the root of your application.
  @override
  Widget build(BuildContext context) {
    return GetMaterialApp(
      title: 'Flutter Demo',
      theme: ThemeData(
        primarySwatch: Colors.blue,
      ),
      initialRoute: '/',
      getPages: [
        GetPage(name: '/', page: () => Home(), transition: Transition.zoom),
        GetPage(
            name: '/first',
            page: () => FirstNamedPage(),
            transition: Transition.zoom),
        GetPage(
            name: '/second',
            page: () => SecondNamedPage(),
            transition: Transition.zoom),
      ],
    );
  }
}

arguments 전달

GetX

// 전달할때
Get.toNamed('/first', arguments: "argument");
Get.to(FristPage(),arguments: 3);
Get.toNamed('/first', arguments: {"name":"name", "num":"11"});

// 받을때
Text("${Get.arguments}"),
Text("${Get.arguments.toString()}"),
Text("${Get.arguments['name']}"),

GetX 객체 전달

// 객체전달
class User {
  String name;
  int age;
  User(this.name, this.age);
}

Get.toNamed('/next', arguments: User("name", 11));

// 객체받기
Text("${(Get.arguments as User).name} : ${(Get.arguments as User).age} "),

동적 링크 사용

동적 링크 정의

GetPage(
  name: '/user/:uid', 
  page: () => UserPage(),
  transition: Transition.zoom)

파라미터 전달

Get.toNamed('/next/28353');

파라미터 받기

Text("${Get.parameters['uid']}"),

복잡한 파라미터 전달

Get.toNamed('/next/28353?name=name&age=11');

복잡한 파라미터 받기

Text("${Get.parameters['uid']}"),
Text("${Get.parameters['name']}"),
Text("${Get.parameters['age']}"),

참고

https://www.youtube.com/watch?v=OXfG-D4PNpQ 


728x90

+ Recent posts